Chapter Topics
How Adjustments Work
Making an Adjustment
Adjustment Reports
How Adjustments Work
An Adjustment is a document done at a Remote station that is used to make
positive or negative modifications to the stock levels of items in inventory.
Typically, Adjustments are used for one of three purposes:
1) To set initial sock quantities for a store. (However, wherever possible
it is much better to use a Receipt since
it links the
merhandise to a vendor and Adjustments do not average costs
in the Cost Audit Log).
2) To adjust inventory levels because of an input error in some other document
such as an Out Slip, a Receipt or another
Adjustment.
3) To adjust stock levesl because of theft, damage to merchandise, lost
merchandise or other shrinkage.
Adjustments are also generated automatically after Count Sheets are applied during the Physical Inventory. Every modification to inventory
arising from a difference between the stock levels in the system and the stock
levels physical counted are recorded in an Adjustment.
When you make an Adjustment with a positive quantity:
* Stock is added back to the inventory;
* An entry is recorded in the Audit Log;
* The transaction is stored in the Documents>Adjustemnts Catalog;
* Average costs are in no way modified.
When you make an Adjustment with a negative quantity:
* Stock is subtracted the inventory;
* An entry is recorded in the Audit Log;
* The transaction is stored in the Documents>Adjustemnts Catalog;
* Average costs are in no way modified.
Adjustements are synchronized out to the Main station just like any other document.
This way the Main will up date its stock quantity information for the store
in question.
Making an Adjustment
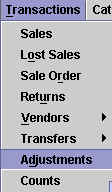
To make a new Adjustment, open the Adjustment screen from the
Transactions menu:
Once in the Adjustments screen, you will notice it looks like any other
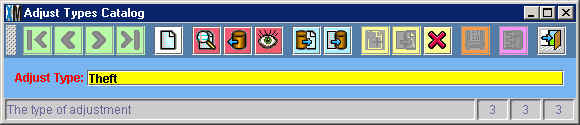
transaction screen with the same toolbar at the top. Before you begin, select
the Adjustment type from the drop down menu. The contents of this menu are
defined in the Adjustment Types Catalog at the Main station. You will want to make
one of these options "Set Initial Inventory" for when you use Adjustments
to set your initial inventory.
Adjustment Types will help you keep track of the reasons behind different
Adjustments and see, for example, the number of adjustments made because
of theft vs those made because of misscounts.
Once you have selected the adjustment type, enter the items that need to
be adjusted. As with any transaction, you can enter the items that you want
to adjust by entering the item number, scanning the bar code, looking up
the item in the Item Catalog or by downloading the items from a PDT. In the
example below, two additional stock quantities are being addeed to Item #67
and three stock quantities are being subtracted from Item #305.
![]()
You can also add any text you want in the Notes area. When you are finished
entering the item data, press F12 to print the Adjustment. The Adjustment
will be saved in the Documents>Adjustments Catalog as shown below:
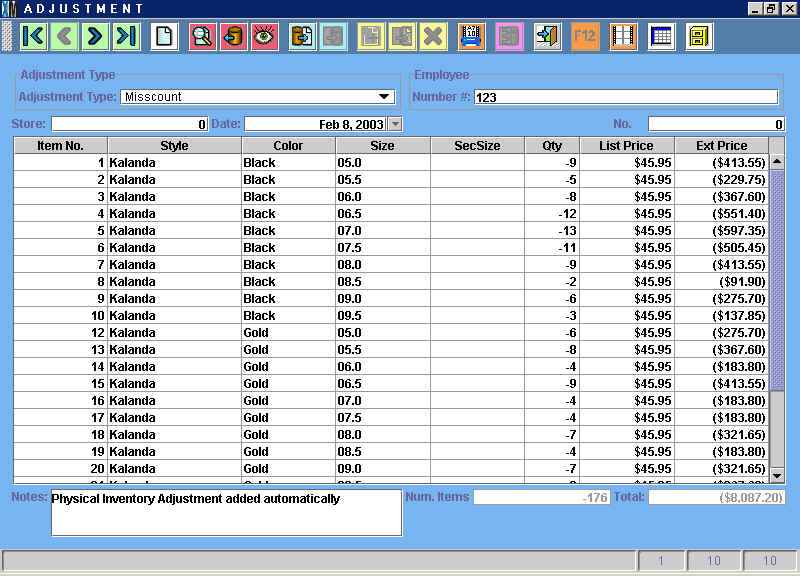
This particular adjustment was created automatically during a Physical Inventory. The text "Physical Inventory
Adjustment added automatically" will appear in the Notes field of any Adjustment
created during this process.
Adjustment Reports
Pressing the Reports button in the Documents>Adjustments
Catalog will open up a list of reports related to Adjustments, as shown below:
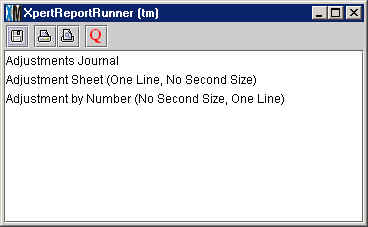
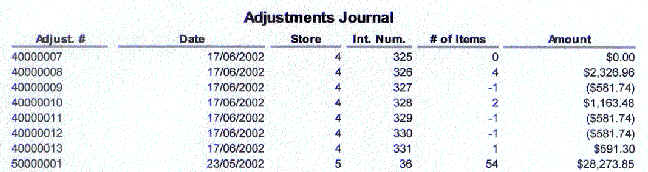
The most useful of these is the Adjustments Journal (shown below) which
lists all of the Adjustments made in a given date range:
If you need to dig deeper, you can use the Adjustment by Number report
to print the detail of a specific Adjustment.
Copyright © 2002 XpertMart